Overview
This project is to design the garden of the house that I grew up in. We moved out of this house in winter 1989. My parents moved to the house next door, and I moved out of the neighbourhood. Since then the property has been rented out to various tenants. No tenant ever looked after the garden, and given that summer was the busiest time of year for our family business we had to pay someone to manage the garden, which in reality was someone coming in 3 or 4 times a year to cut the grass and chop down everything that was not a tree down to bare soil.
When I finally had the time to manage the garden, the tenants would not let me enter the garden, so I had to wait until Autumn 2011 when the tenants moved out. This design shows how and why I decided to turn this garden into a low maintenance forest garden.
Choosing a methodology
As part of the Permaculture design of the garden next door, my analysis revealed this place to be a zone 3 or 4, as the client will not be going to this garden every day. I therefore decided this place would be best suited to become a forest garden. Given the design of a forest garden is more simple than a permaculture garden, I decided to use the more simple methodology CEAP, instead of OBREDIM or SADIM.
Note on how to view the mind maps and images
Most of the documentation I have created over the years have been in mind map format. My hand written mind maps are quite illegible to anyone other than myself, so I use the computer application Xmind to create legible (though not always as colourful) mind maps. Unfortunately I cannot upload interactive Xmind mind maps on to this website. The only successful way I have managed to get mind maps uploaded is via a long winded process of cutting and pasting maps to freemind (exporting does not work), which I can then convert to a flash object. Sadly freemind looses a lot of features that Xmind offers (images, comments, etc.), and so I have had to compromise on what I make available on this web site.
With that in mind, wherever possible I will include a clickable (expandable/explorable) mind maps, as well as an image of the original Xmind mind map. When you open the explorable freemind mind map, you will notice you can click on any piece of text which has a small circle at the end of the line. This will expand the mind map to reveal further branches of text. On my browser it is very difficult to spot, but at the top are some controls, which allow you to make the font larger or smaller, change background colour and various other options. It is not the most exciting format of mind map, but it does allow you to explore the mind map.
Working through the methodology
Collect site information
As with almost every design methodology, we start by collecting as much information as we can about the subject. In this case we collect information about the site, what is already there, what what is the site lacking, what we would like etc. I have used a series of tools to gather this infomation, which systematically help me to look at the site from different angles and collect a robust set of information that I may have missed if I had not used the tool. In many cases a tool may uncover infomration about an area we may have already considered, but rather than consider it duplication of effort, it help me to look at the same subject from a different angle and invariably give me different ideas of how to work with it.
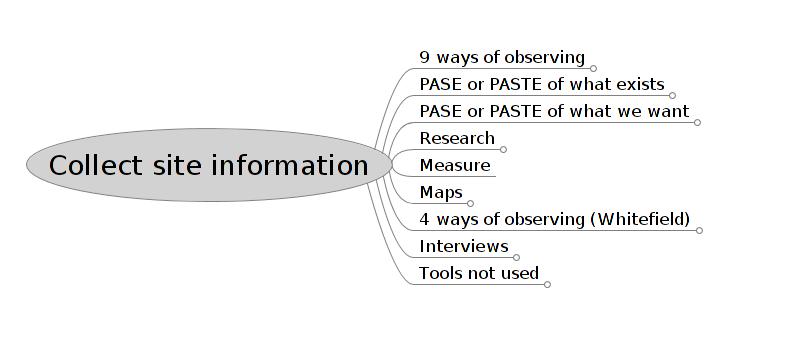
Here is an interactive freemind mind map which covers the information collection stage of the design process.
Click on the image below to view an interactive freemind mind map
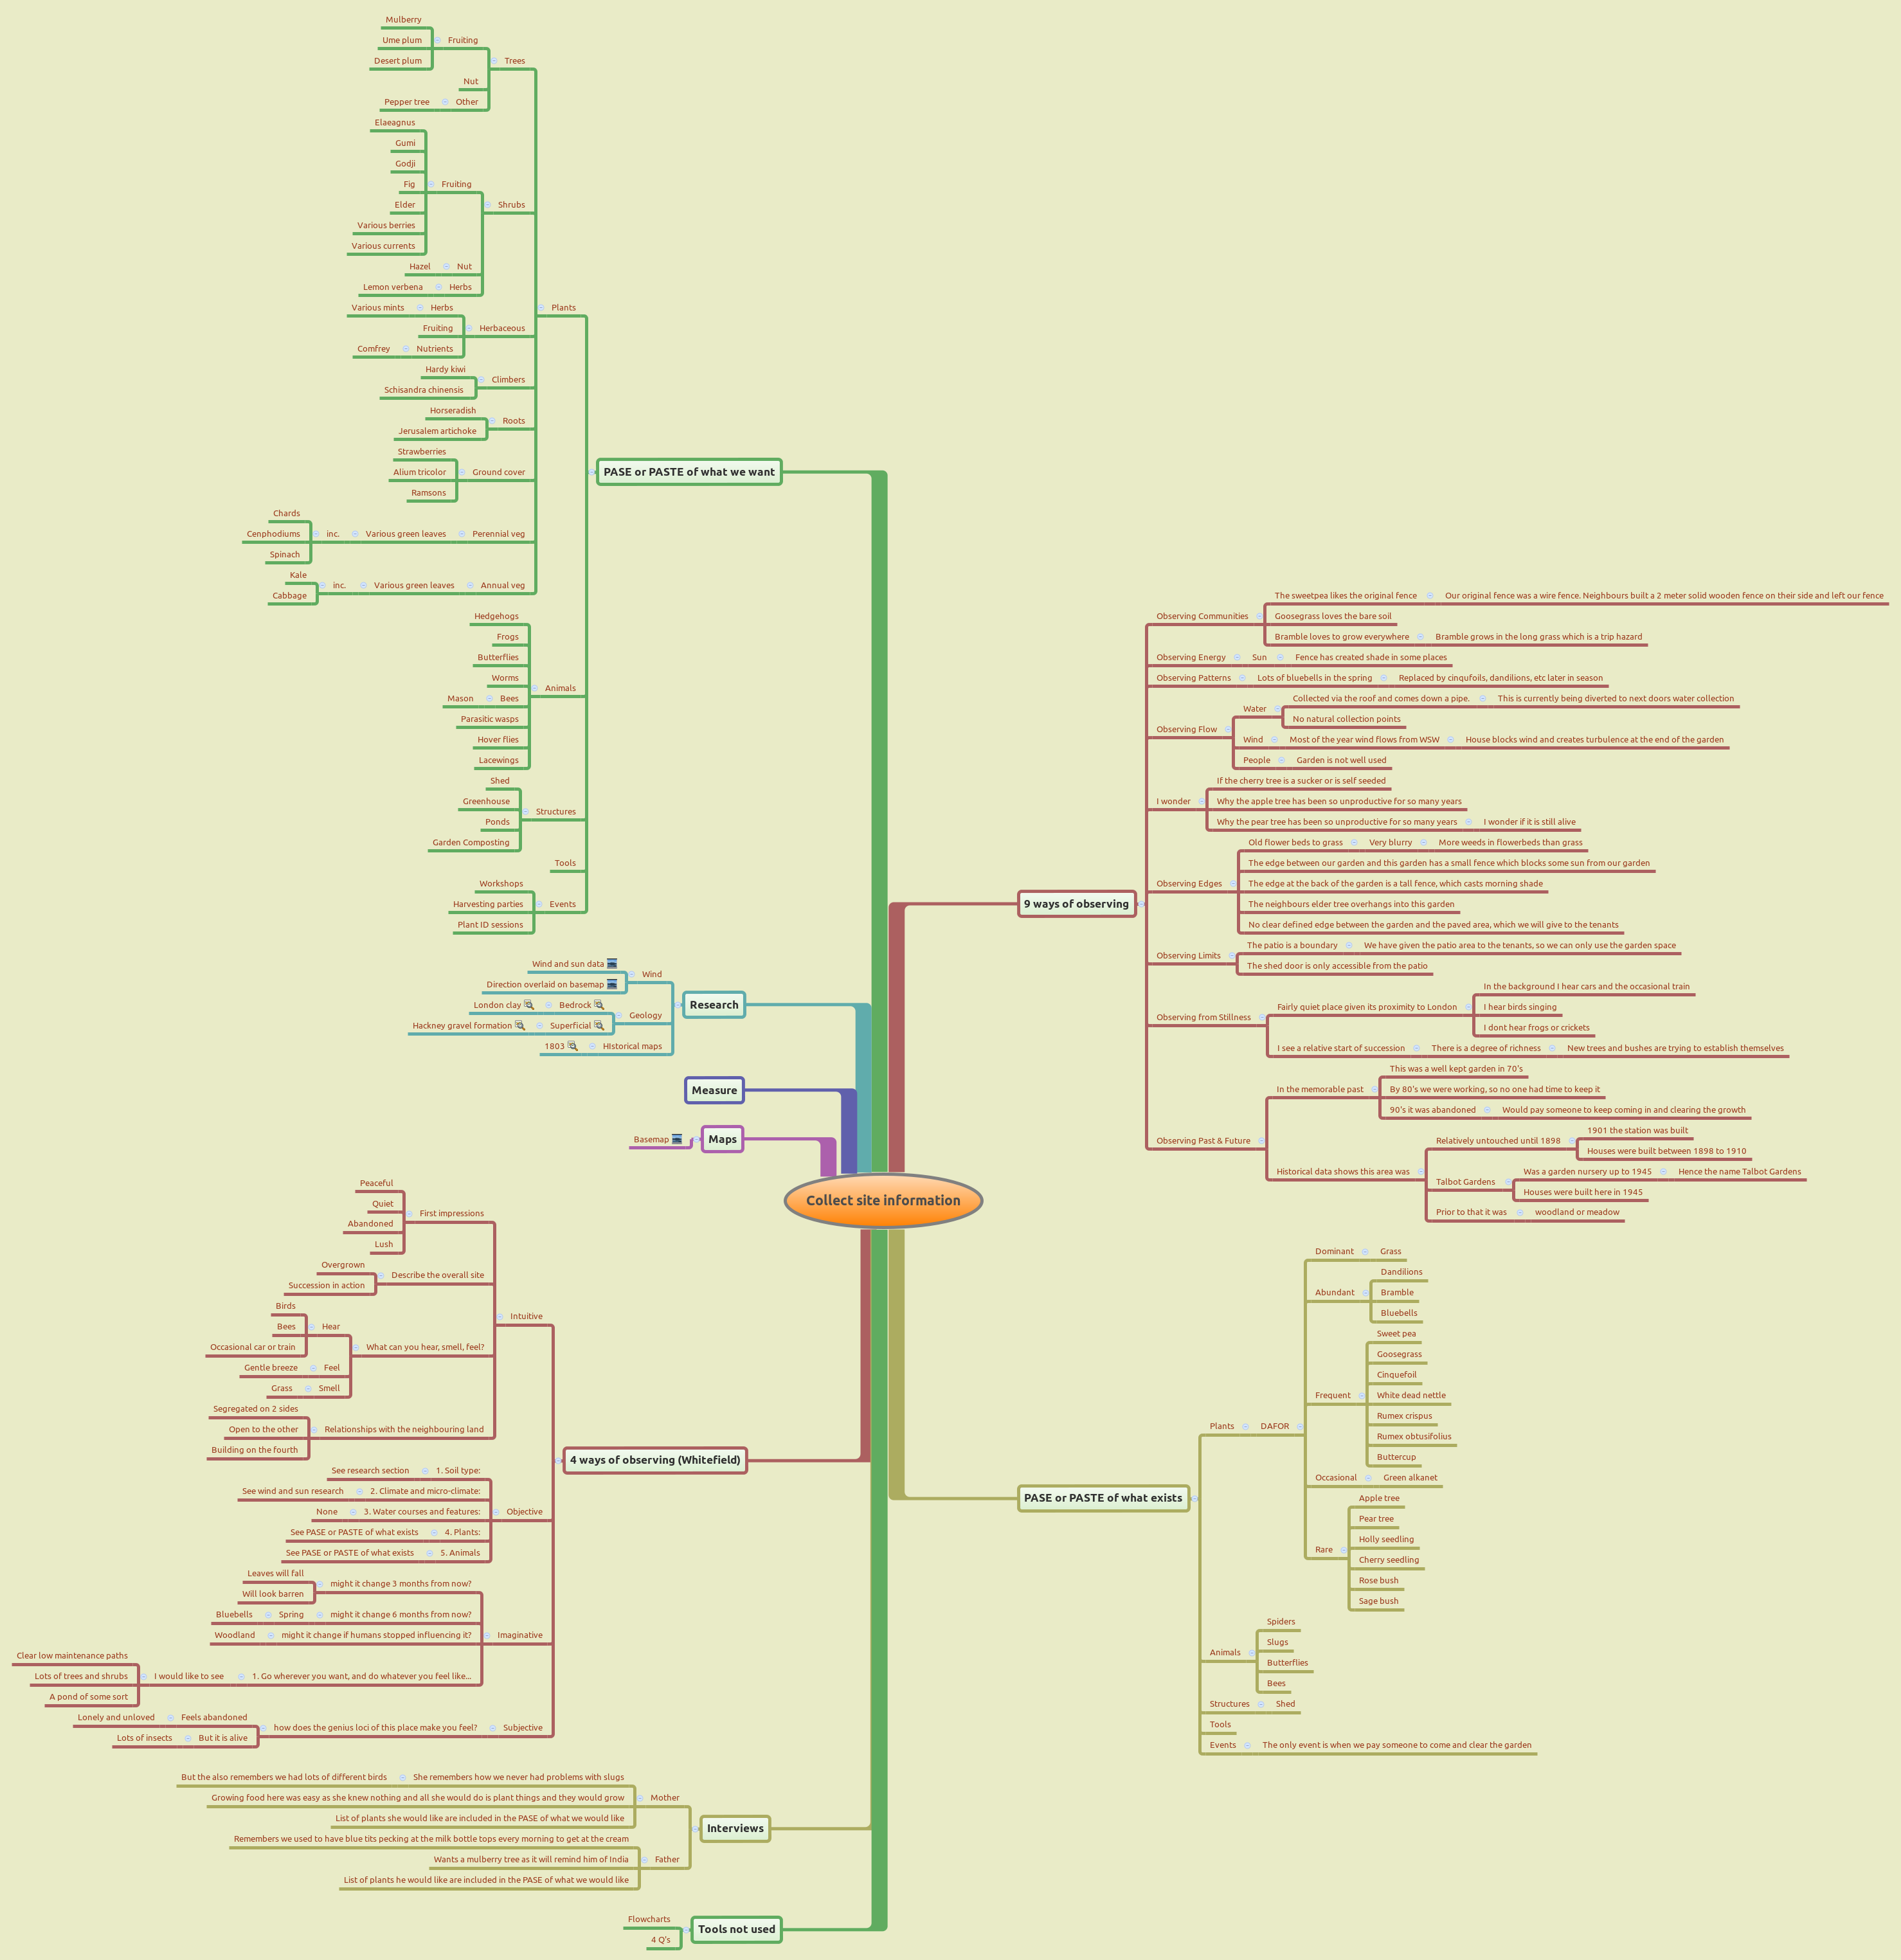
I have also included, the original xmind mind maps for reference.
Click on the image below to view the static Xmind mind map image
Geology
Using web sites and applications such as iGeology I see the bedrock of this site is part of the "London Clay Formation", which is comprised of clay, silt and sand, with between 6 and 10 meters of superficial deposits of mainly sand and gravel. This is borne out by the historical information I gathered and remember about the site (I remember in my childhood piling up huge amounts of stone that we would dig out of the ground while planting our veg). The images below show some of the findings of my internet research.
Soil type
The soil samples I took from this garden were very similar to the samples taken from the garden next door. We have a mix of sandy, silty, loam, with naturally high groundwater. All of which lends itself to a wet acidic meadows and woodland habitat and arable grassland and woodland land cover. This is bourne out by the history of the site, which you can see below. The soil pH was around 6.5 to 6.7, though I am not convinced the meter we used initially was actually working. We have tested it again since using pH strips and again it is reasonably consistently around the 6.5 mark (we double checked the pH strips with some home made apple cider vinegar).
Site History
Goodmayes was largly arable land until urbanisation of the area began between 1898 and 1910. This coincided with Goodmayes Railway Station being built in 1901 as part of the Great Eastern Railway from Liverpool Street to Southend. Most of the houses were completed in that time, however as you can see from the maps below, there were 3 streets which in 1944 remained as orchards and tree nurseries. Talbot gardens was one of those streets. Th other fact you may notice from these maps is that the majority of houses were built with east or west facing front and backs, which for those wishing to maximise any potential solar gain is very a real pain.
Other survey Maps
As you can see from the basemap, the forest garden is next the permaculture garden. It is the garden at the bottom of this map. You will notice there are 2 existing trees. Both are around 60 years old.The one at the back of the garden is apple and the other one, by the shed is a pear. We also have an elder which overhangs into this garden.
The wind statistics were gathered from windfinder.com. I have superimposed the wind stats onto my basemap so we can see which winds could potentially cause us problems. What I have witnessed is that most of the wind in the spring (when tree buds are at their most vulnerable) is at the back of the garden. The next image, shows how in April, May and June, the wind is predominantly coming from WSW, which is directly perpendicular to the house. This means that the turbulence is as we have noticed, mainly at the back of the garden.
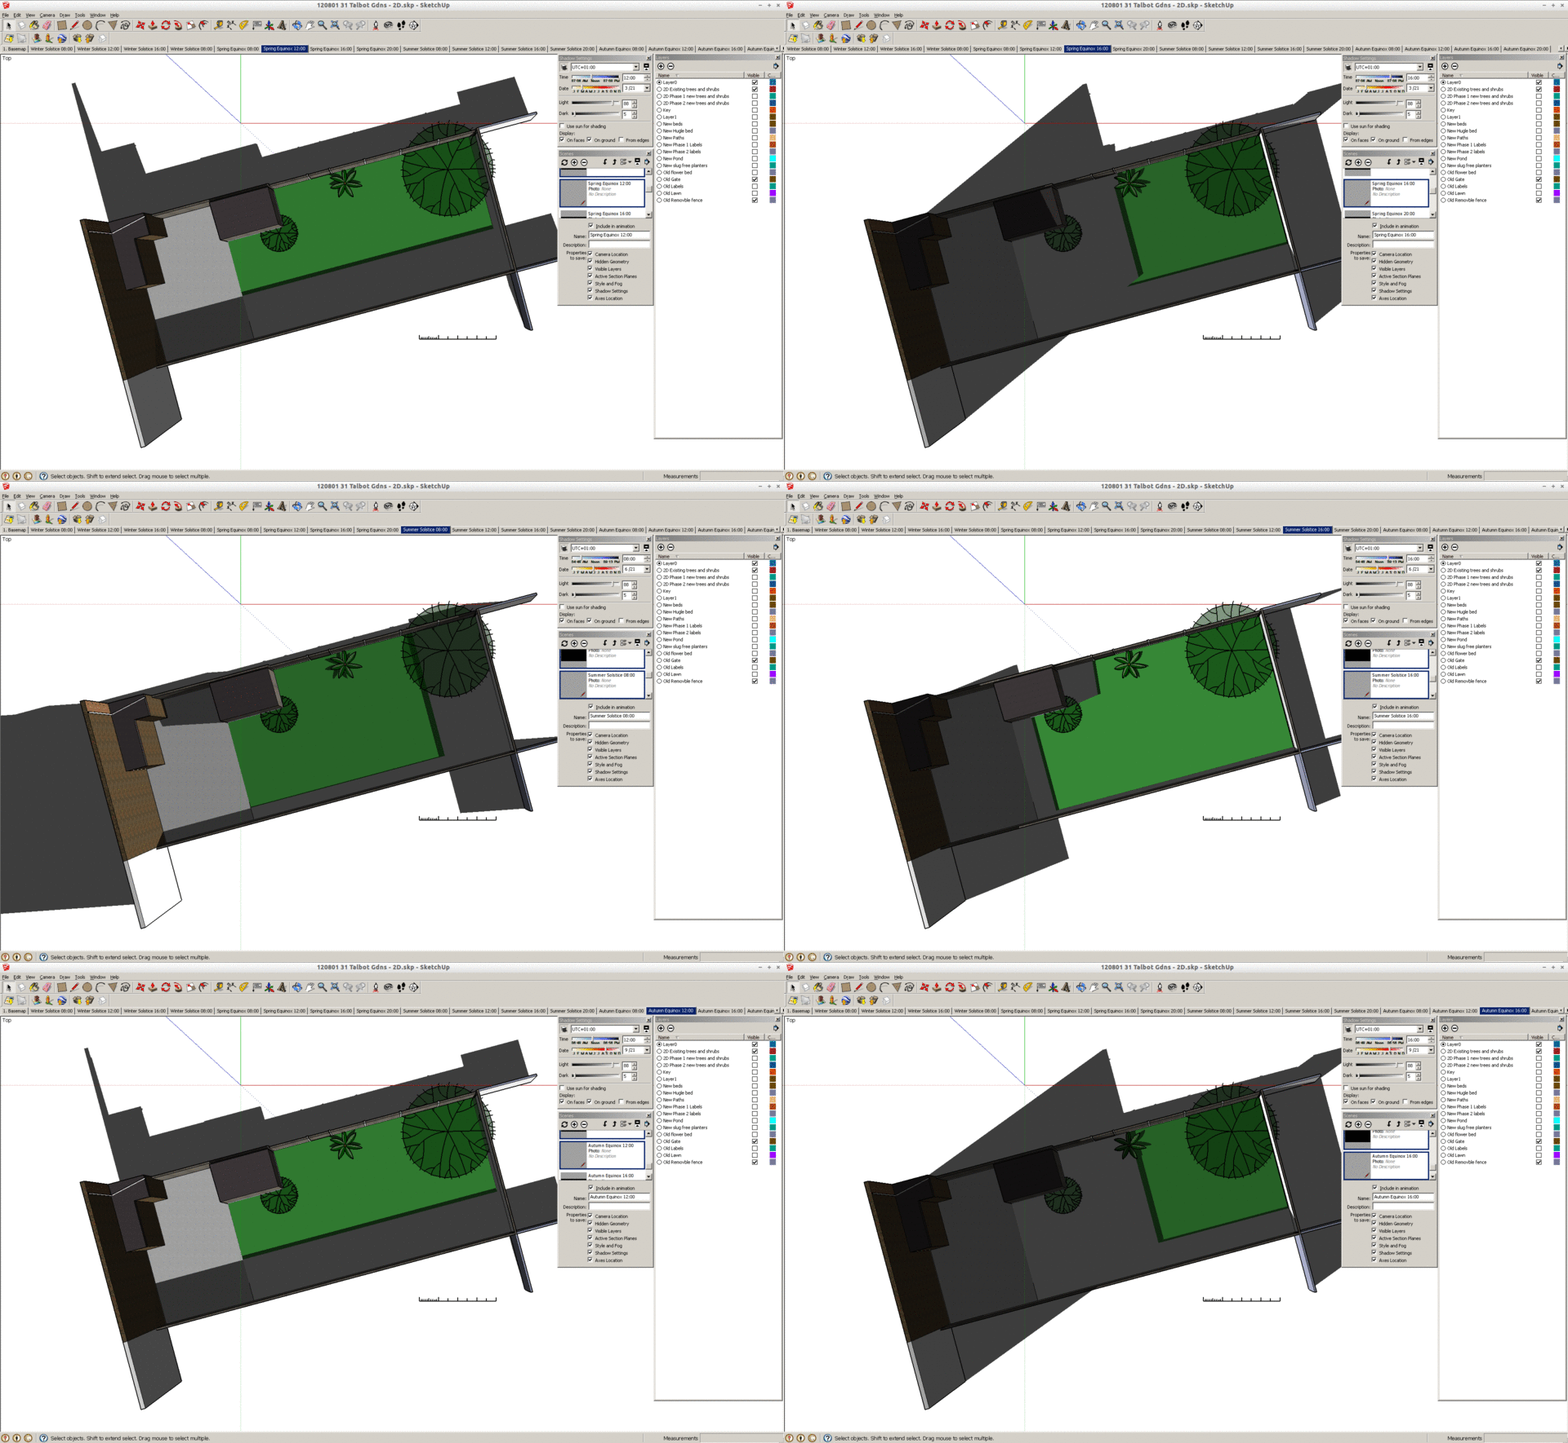
You can also see the midday spring equinox shade caused by the high neighbouring fences. This is important as this is the most likely place where any spring frost will take the longest time to thaw. This has been bourne out by observation.
Sun and shade maps
I have used google sketchup to mapou the sun and shade maps over the season. I have chosen to map the Winter, Spring, Summer and autumn equinoxes, at 8am, midday, 4pm and 8pm.
Evaluate the information
Having collated a significant amount of data in the collect site information section, we then move on to evaluating the information and making sense of the data. To conduct the evaluation, I took every point that was raised, and thought about its implications. I then noted my thoughts as well as adding any additional questions and comments. As you will see later, these comments, thoughts and questions, can then be fed into the design process (Apply Permaculture Principles).
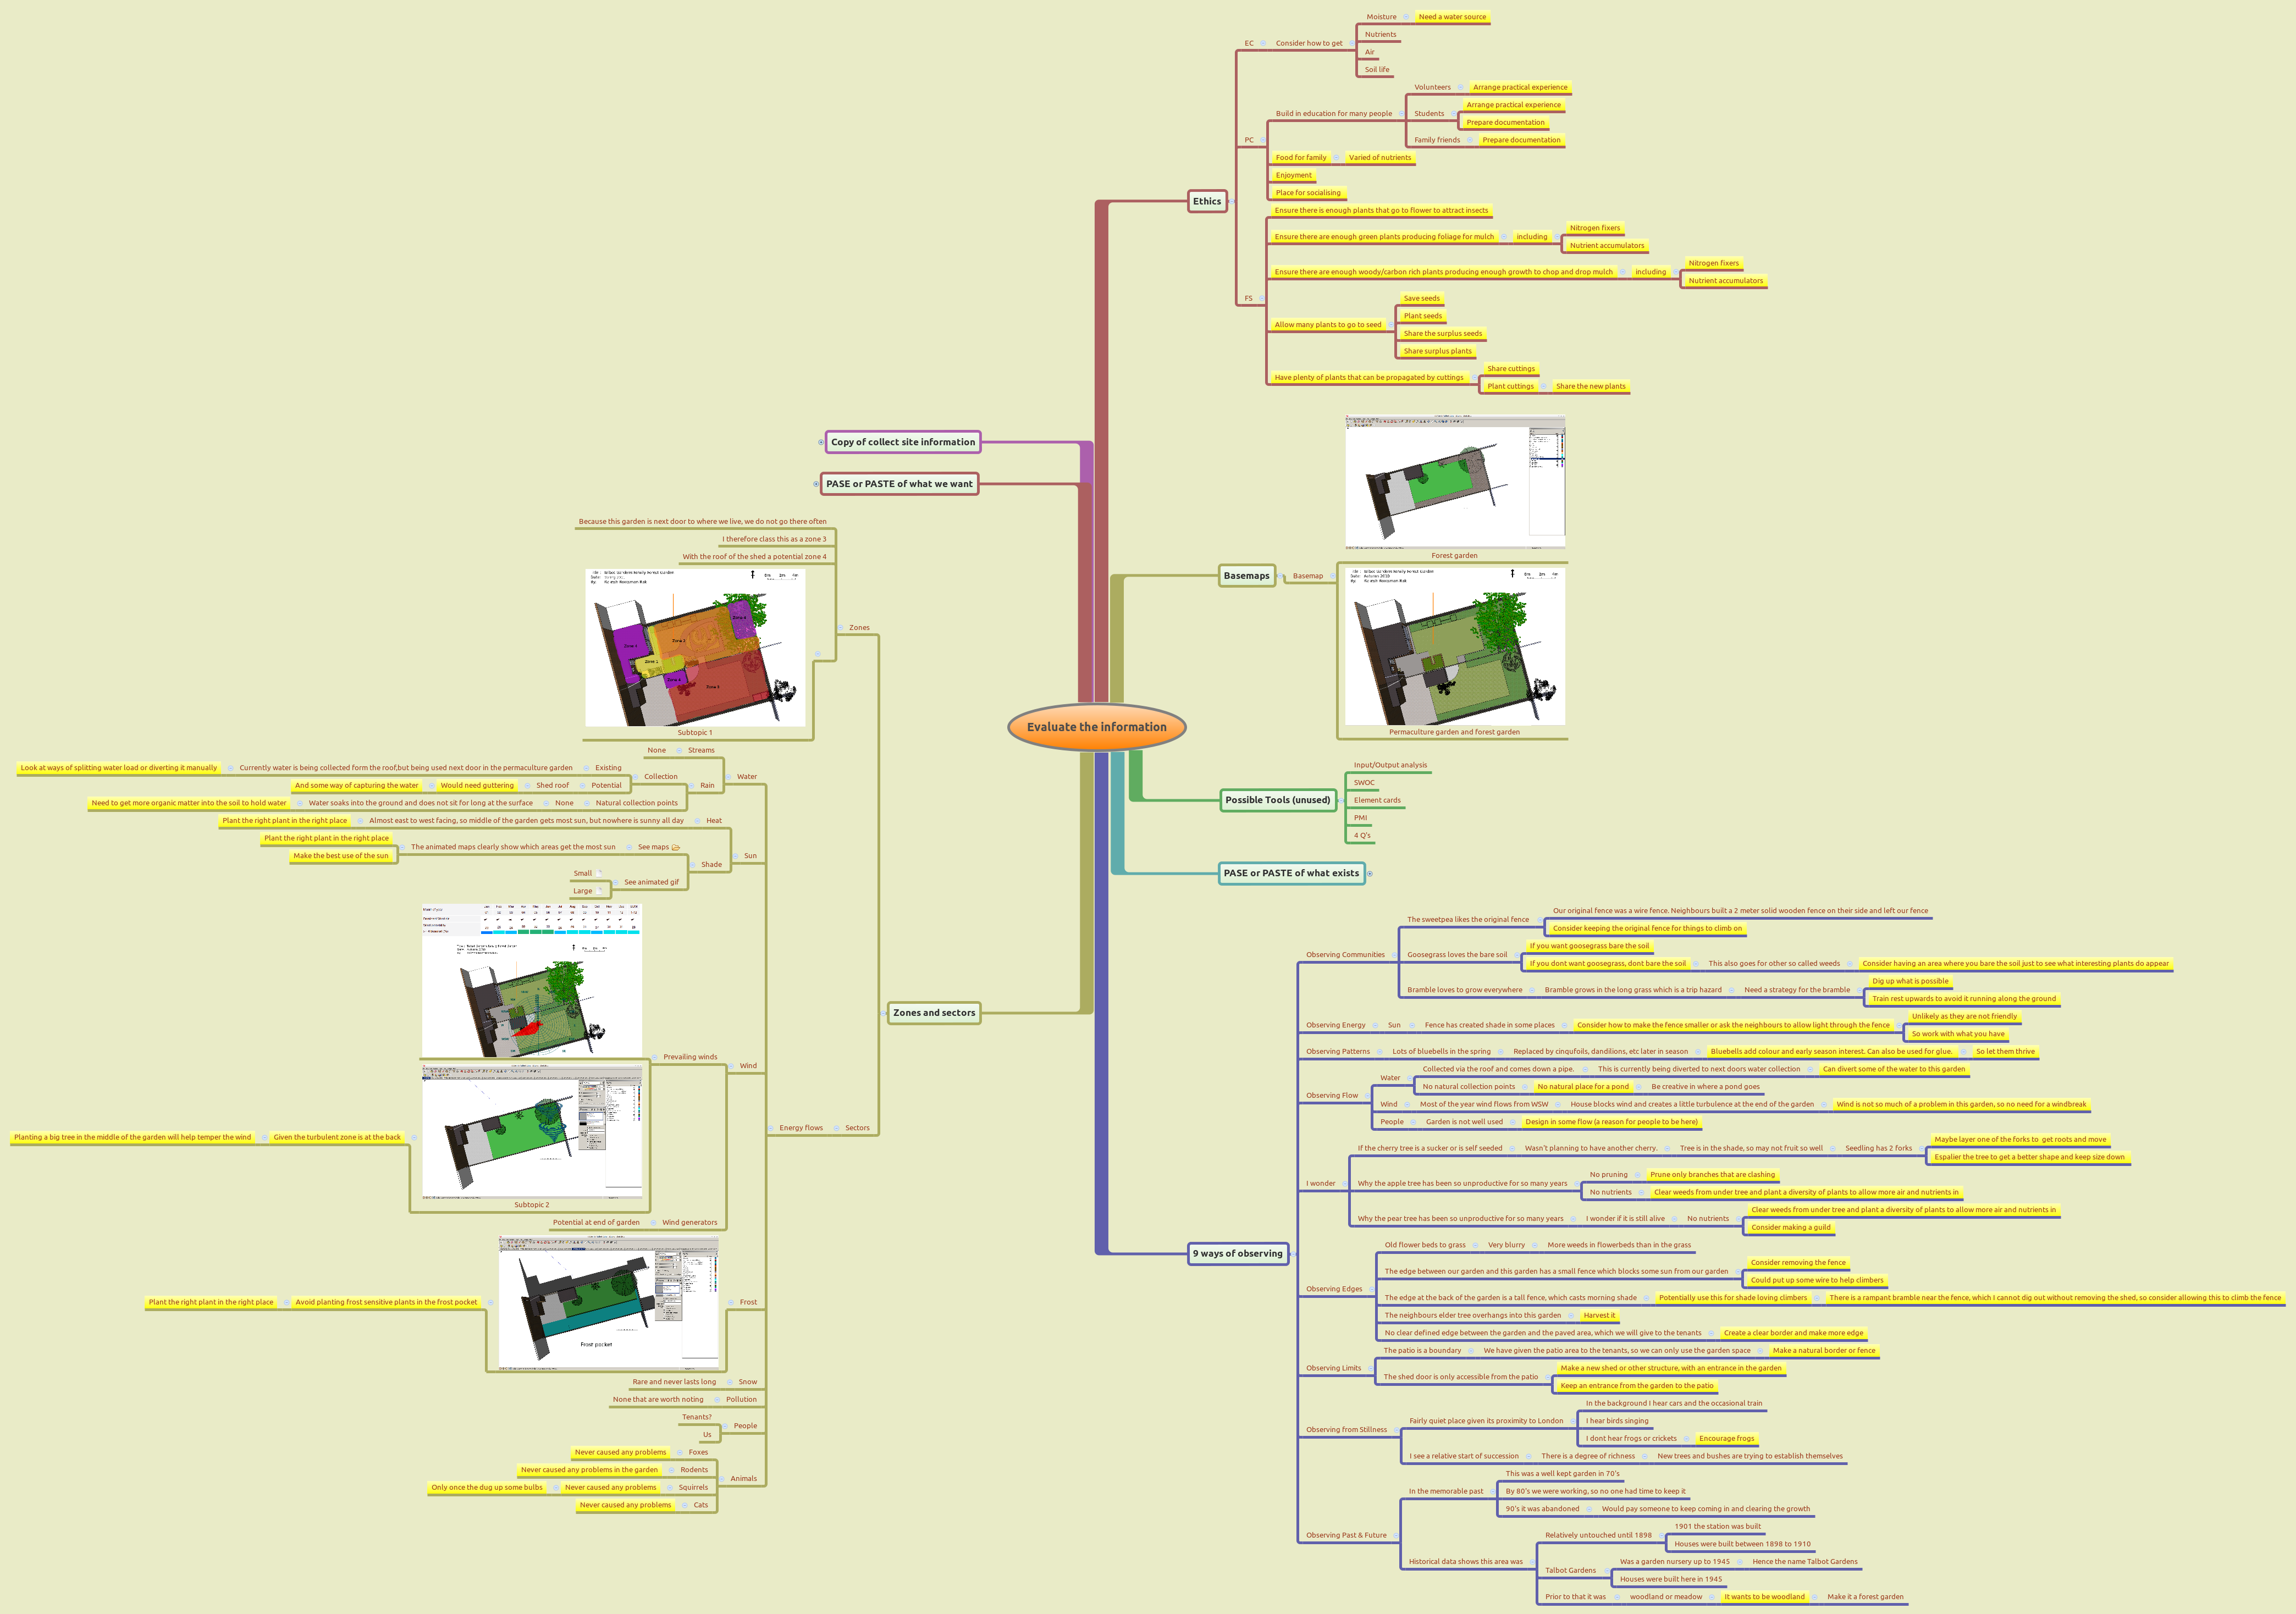
This section includes the detailed mind maps where I explore the evaluation work. I have included an explorable freemind mind map as well as a static image of the original xmind mind map. In the original xmind mind map you can see how I have taken information from the previous stage (collect site information) and added comments, which have been highlighted in yellow.
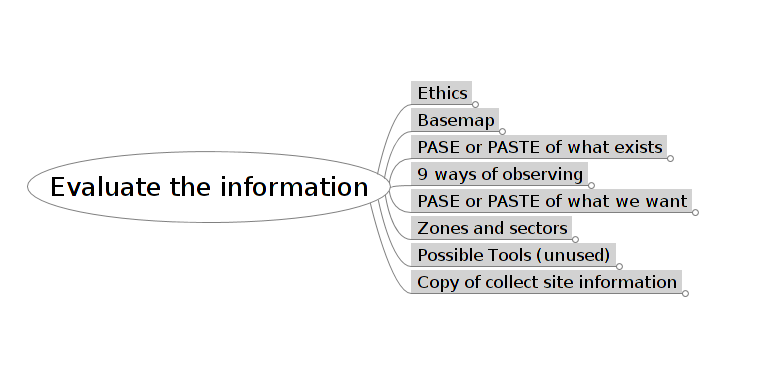
Interactive evaluating the information mind map
Click on the image below to view an interactive freemind mind map
Evaluating the information in static xmind mind map format
Click on the image below to view the static Xmind mind map image
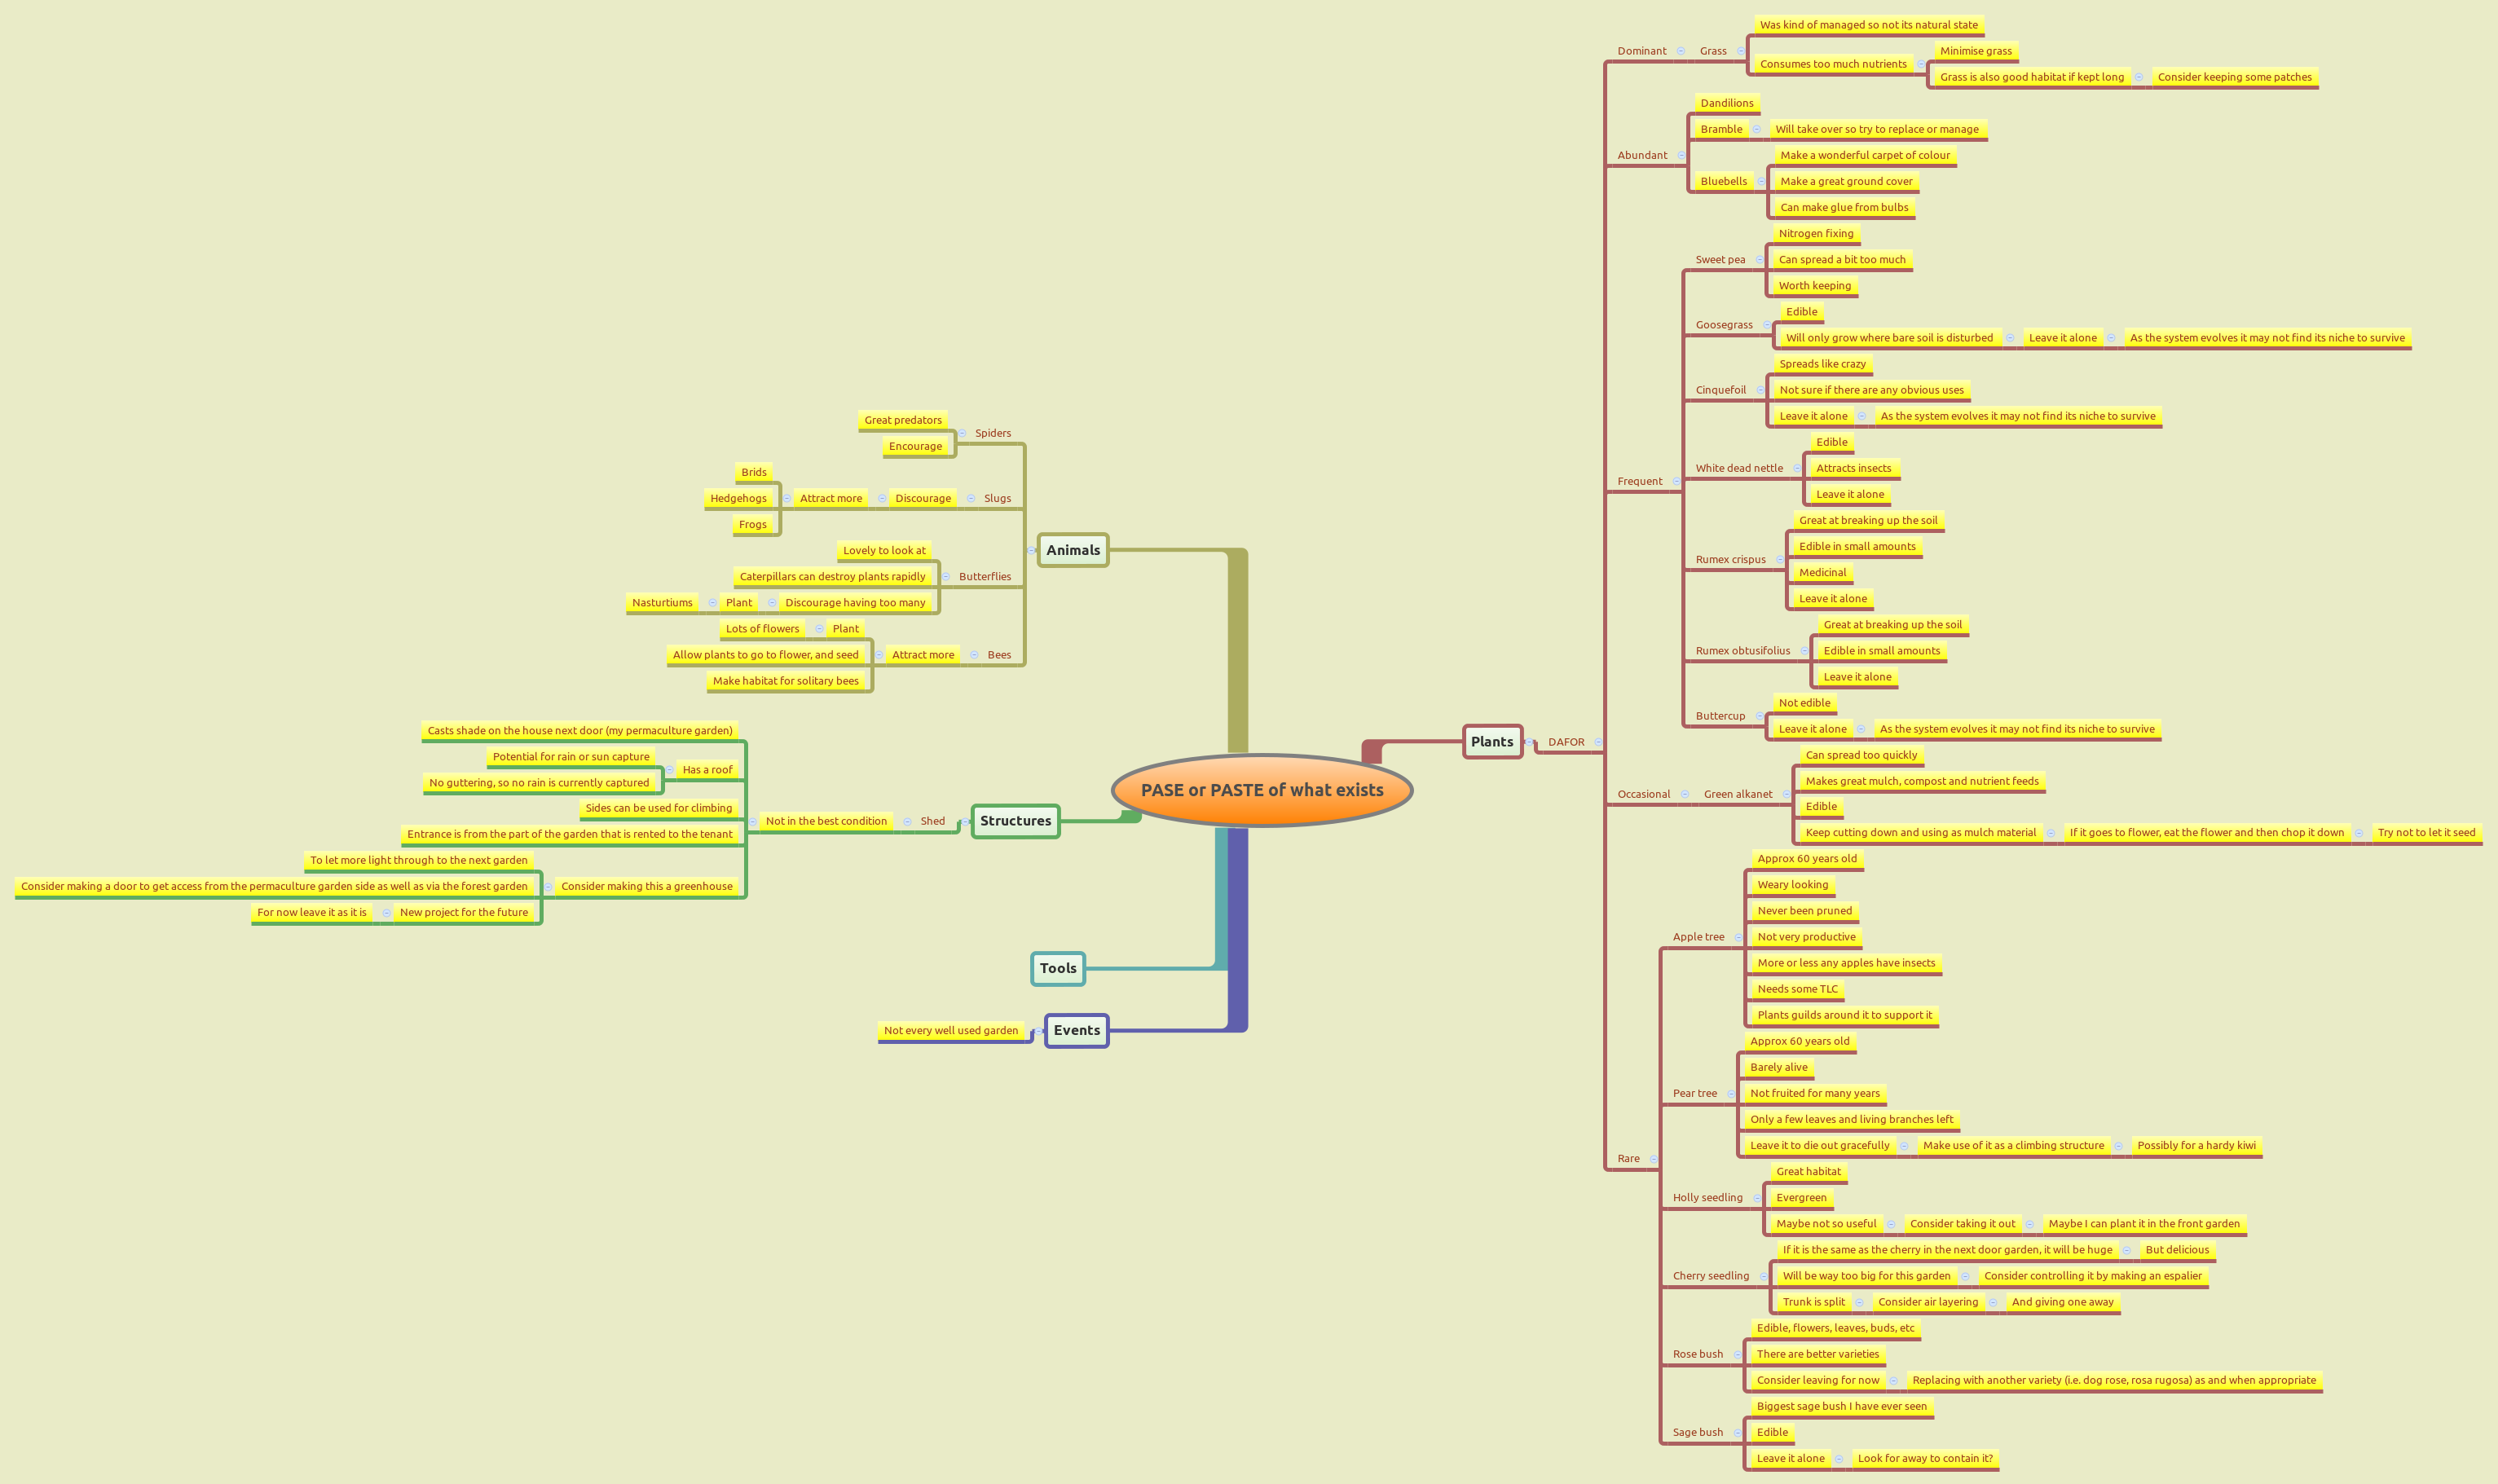
Evaluating the existing plants, animals, structures and events
Here I go through the plants, animals, structures and events that already exist on the site and evaluate what they mean and whether I want to encourage them or not.
Click on the image below to view the static Xmind mind map image
Evaluating the microclimates
Here I evaluate the impact of wind and frost on the site, as well as showing a permaculture zone map of the garden. I identify the where the wind is strongest, and conclude while it is not urgent to make a windbreak, planting a large tree in the middle of the garden will help soften the wind at the back. I also identify where the frost pcokets are likely to be, and therefore where I should avoid planting frost tender plants. I Also include a permaculture zone map. Given that the client lives next door (which since my father passed away means I also live next door), the zone map has been made to include both the forest garden and the permaculture garden,with the clients house as zone zero.Hence for us the forest garden is a zone 3 as it is not a place we will visit every day, while the roof of the shed is a potential zone 4. I will therefore plant things in the forest garden that do not need much care and maintenance or picking every day.
Sun and shade maps
The sun and shade map shows clearly where the sunniest part of the garden is (in front of the apple tree). The conclusion I draw from this is that this is the spot where I need to plant the most sun hungry plants. Given is is a relatively small place, I am also considering how do I make better use of this, i.e. how can I create more height here so that the space can be better utilised.
Researching the plants that we want in this design
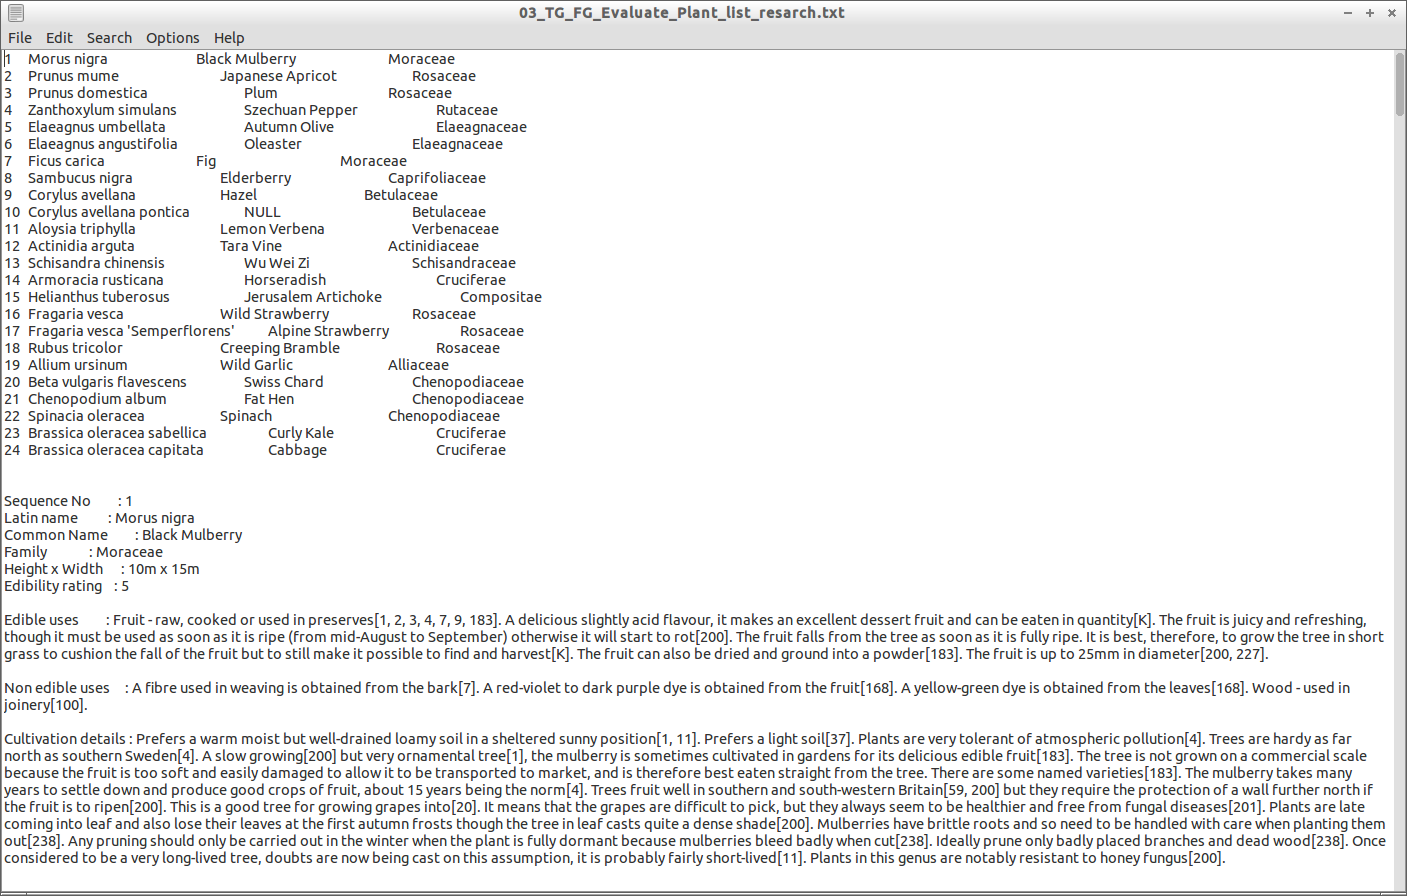
To calculate the best position location to place the plants, I first need to do some research on what what each plant needs. Once I have this information I can then find a niche in the garde which will allow the plant to thrive. So I took the list of plants we gathered from the PASTE tool, and used my plant database to extract the following information.
Apply permaculture principles
At this point I realised I have better tools to design a forest garden that the standard tools I would normally use with CEAP. I tried to use the usual tools but struggled. So applying the permaculture principle of "Apply self regulation and accept feedback", I accepted the feedback of "struggling" and applied self regulation to switch to a tool that was more appropriate. I switched to using my forest garden methodology, which I have been evolving and teaching over the years.
Raks Forest Garden Design Methodology
My methodology fits in neatly with CEAP or SADIM in that the "Collecting site information" and "Evaluation" processes are the same as in CEAP; ditto "Survey" and "Analysis" of SADIM. You could say the design phase of my methodology is a fine tuning or a specific tool within the CEAP or SADIM design section. No matter how you view it, this is the tool I have developed and prefer to use to create dynamic forest gardens. Anyone who knows me well will know I very rarely do something just because others are doing it, so rather than follow a system that isnt working I'd prefer to admit it isn;t working and find a way that does work. After all tools and methodologies are just tools to help you work, so if a tool does not work, then find a new tool wich does, or make your own tool (which I do very often).
Click on the image below to view the static Xmind mind map image
Applying Raks Forest Garden Design Methodology
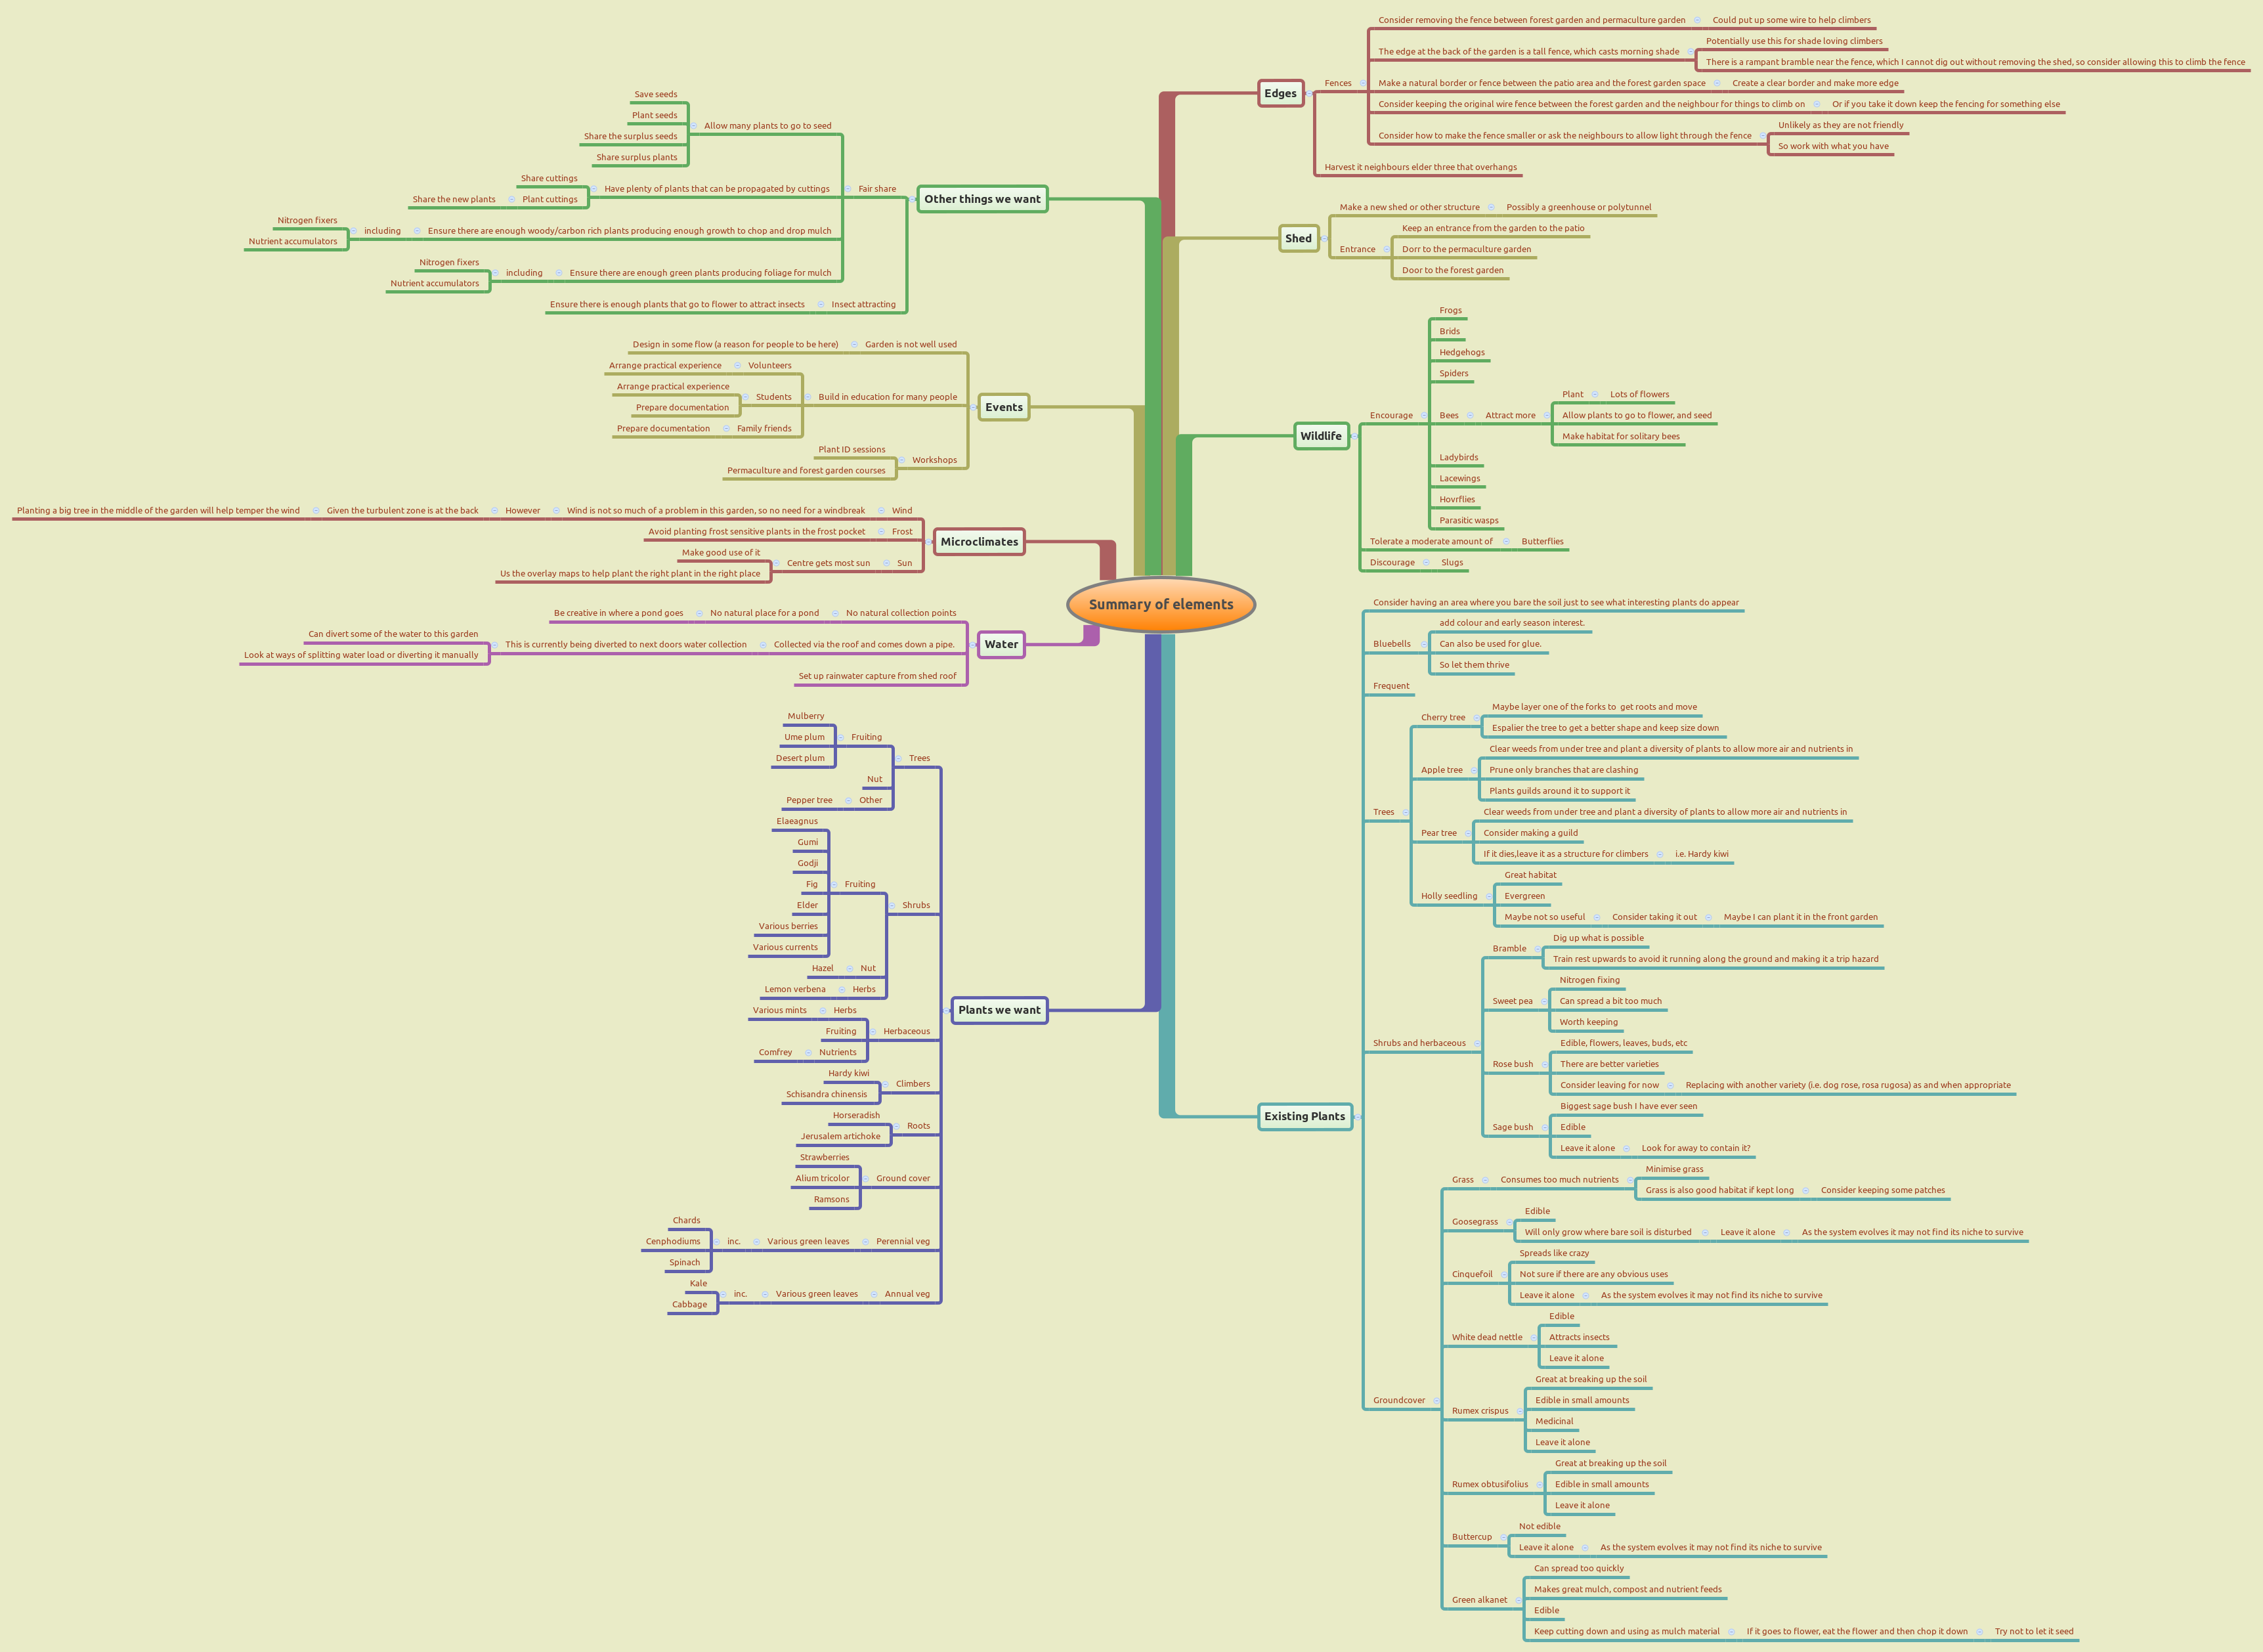
Needless to say this methodology, like any methodology is not linear, it is iterative. So the pictures below are not a true representation of the design process, but they do give you a snapshot of the process. The process, like my other designs involves keep the summary of design elements open as you look at each section.
Click on the image below to view the static Xmind mind map image
The process in this case started on paper rather than on a computer (it was around the time my camera was stolen, so I do not have any pics). It would however involve using either paper cut out circles or as in this case it would have been using laminated green circles, which I made for designs and for teaching. Each circle (or other shapes) represent a plant, or a structure, and because they are laminated I can write on them with information such as height, sun preference, soil preference, etc. The following photos are just for example, they are not part of this design.
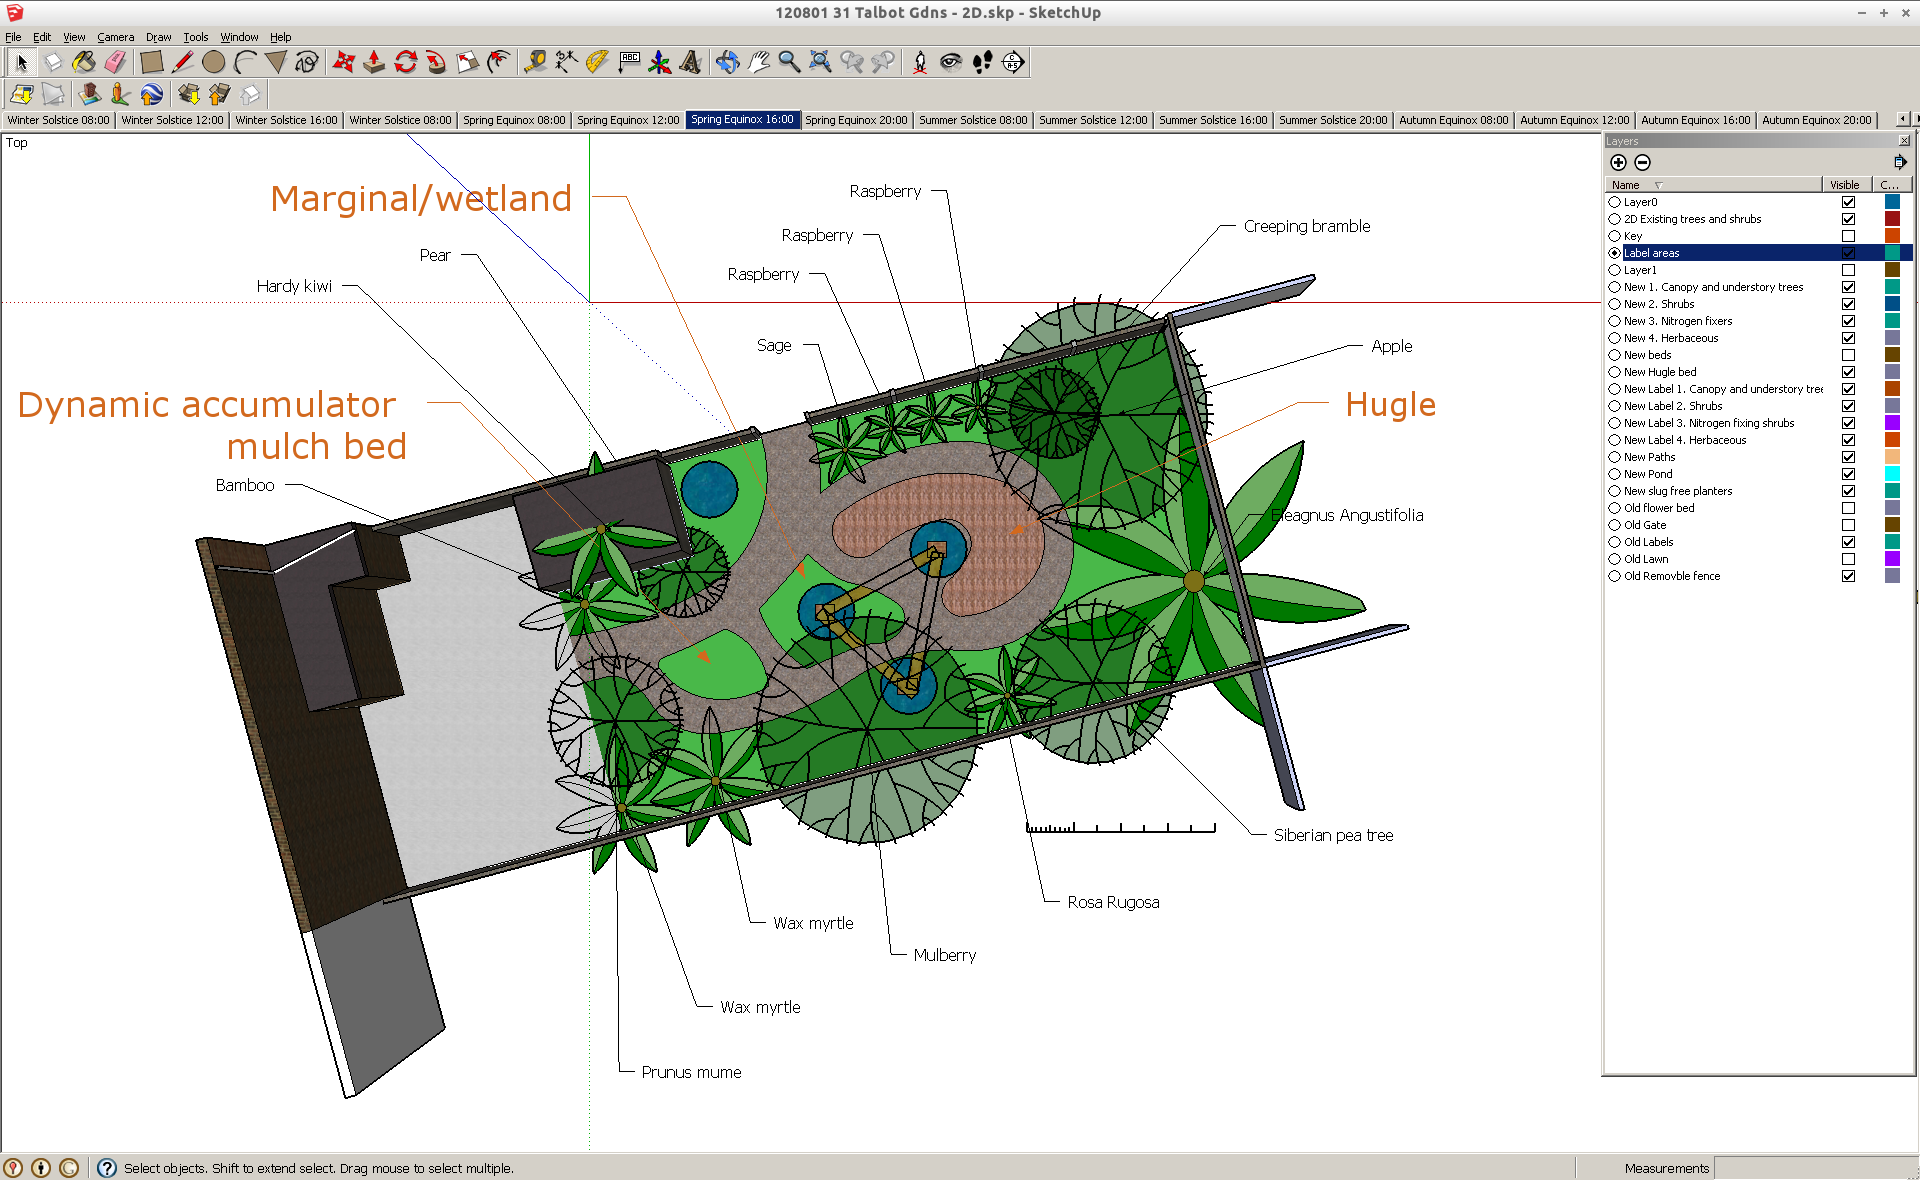
As the design progressed and I was happy with the placements of the elements, I then transferred the design to the google sketchup model. I chose to keep the trees in 2D rather than 3D as the laptop I was using at the time had memory problems running a buggy windows application under a linux operating system, so I kept the graphics down to a minimum by only using 2D images. The next set of pictures represent the different stages of design.
Applying permaculture principles with the summary of elements in mind
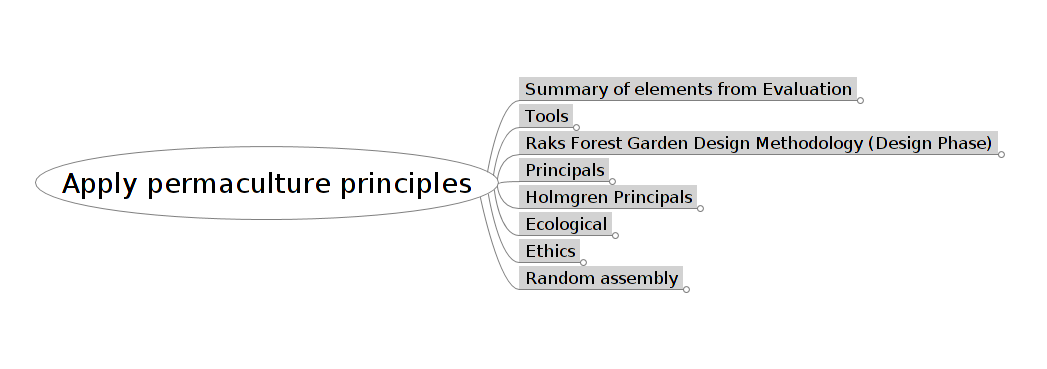
During the design process I would reach into my permaculture principle box and pull out a set of principles (Holmgren, Attitudinal, Ecological, as well the three permaculture ethics), and see how they applied to this design.
Click on the image below to view an interactive freemind mind map
Click on the image below to view the static Xmind mind map image
The final design
So the final design looked like this, with all the major trees and shrubs and some herbaceous plants decided. In effect I have created a pattern, and created sections which have a clear borders. The details of what to plant under each tree I have left intentionally out, as I find it easier to create guilds on the fly according to what is available. My guilds have 10 elements, and as long as I find plants that adhere to those 10 factors the actual details are not so important to me at this stage, as I know some things will change when it comes to implementing it. Even some of the trees may change when it comes to the implementation. This is my way of working from patterns to details.
Plan a schedule of implementation, maintenance, evaluation and tweaking
The implementation plan
The plan was very simple, do whatever I could whenever I could do it and whoever was available, whenever they were available and when the right resources became available. There was no urgency with this project, so going with the flow and letting it happen naturally was an entirely appropriate approach.
The actual implementation
As of writing the full design has not been implemented, though large parts of it have. Here is the story so far
Slight change to the plan
As expected, not all the trees and shrubs that I originally planned for were available, plus interesting different things did make themselves available. Because the design was clear, I could easily choose how o replace like for like, and make a few other adjustments along the way.
Health and safety
Even though this is a private house, we do invite members of the public (students, friends of the family, etc) to the house to see the garden. Hence I regularly check the garden for any potential health and safety hazards, as well as issuing a health and safety notice.
Evaluation
Compared to how the pace looked at first when we started, it is such an inviting place now, full of interesting life. I go here a lot more often that I honestly thought I would. It kind of feels like it is an extension of the permaculture garden. The neighbours think it is a mess, and many people who come over also think it is a mess, until I show them the design and walk them around and get them to taste and smell things. By the end they invariably say WOW we must have one of these, or words to that effect.
I will sum up more in the summary section, but overall very happy with how it is progressing,especially given the very little time I have had to make it.
The only thing that is not working so well is the amount of mulch material that I am generating (there simply is not enough for the hugle).
Tweak
Plant more mulch material, including comfrey, alfalfa, yarrow, even globe artichokes, etc
First phase of the implementation
We started clearing the garden late 2011 (if anyone has pics of this group event, please let me know)
Second, rather unexpected batch of woodchip arrives
I was runnig a 4 day intensive forest garden design course at the permaculture garden. On the last day I decided to take everyone out for a walk to look at patterns, resources, idnetify plants and trees, etc. So just a general ramble around suburbia to see what we could see and learn. We spotted a tree surgeon, so approached him to ask if he could drop off some to our garden. I had a nice talk to the tree surgeon and explained that we needed trunk rounds, long logs, woodchip as well as foloiage. Before we walked back (we also stopped to pick up a disused loft water tank, to use for making a pond), the first load of woodchip arrived. We used the logs to make borders, the woodchip to put on the paths, and the rounds to make seats.
Making the hugle
Surprised at how quickly this was made, though we could have done with more mulch material
Yield
Some of the fruits of the garden so far
Summary
I will sum up by using the 4 permaculture questions (4Q's)
1. What went well
Th design process was quite simple, and very enjoyable.
I am pleased with the layout, especially the paths and the general feel of the design
I had 3 groups of students over who used this garden to practice designing, so it was enjoyable to see what they designed
Laying the paths was great fun, especially with all the people who came and got involved
The incredible amount of apples we go from the tree was extremely satisfying, the guilds worked so well.
The fact that the pear tree fruited after so many years of not fruiting was a complete surprise, but again shows the power of taking care of the soil.
The amount of strawberries and raspberries was also impressive
The perennial cabbage also established itself very fast and is producing lots of year round greens
2. What would I do differently
I would have left more areas for growing mulch, as the hugle and some other areas really could do with more mulch material
3. What is my vision (or what would I like to achieve)
I would like to get cracking with making the ponds. I have the materials, all I need is to find the time.
I would also like to get some mulch onto the hugle or get a green manure growing on it
4. What is my next step
Get another layer of soil onto the hugle and plant a winter green manure.
I will also transplant some strawberries onto the hugle, to keep the soil together and to cover it with a living mulch

